Table of Contents
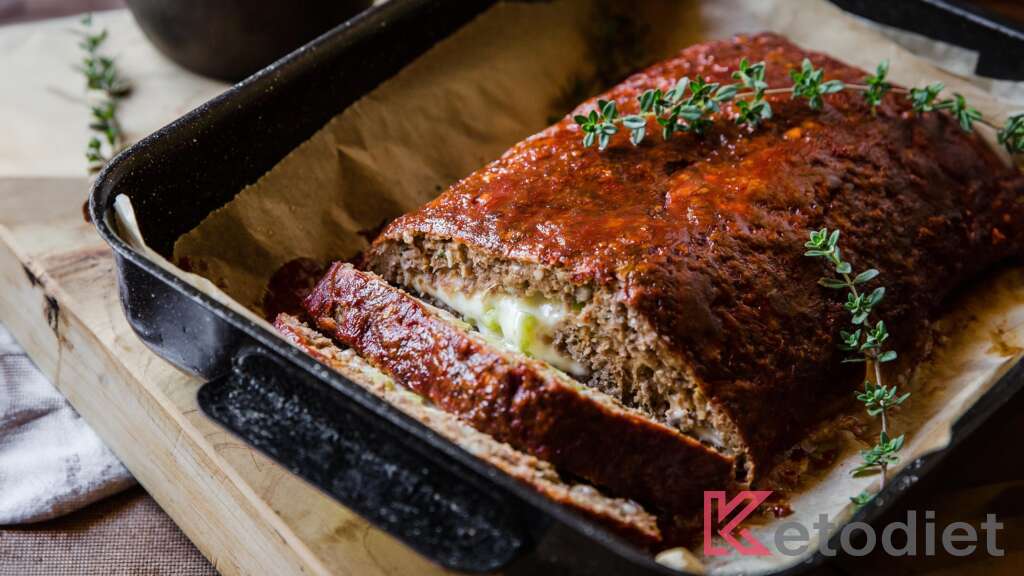
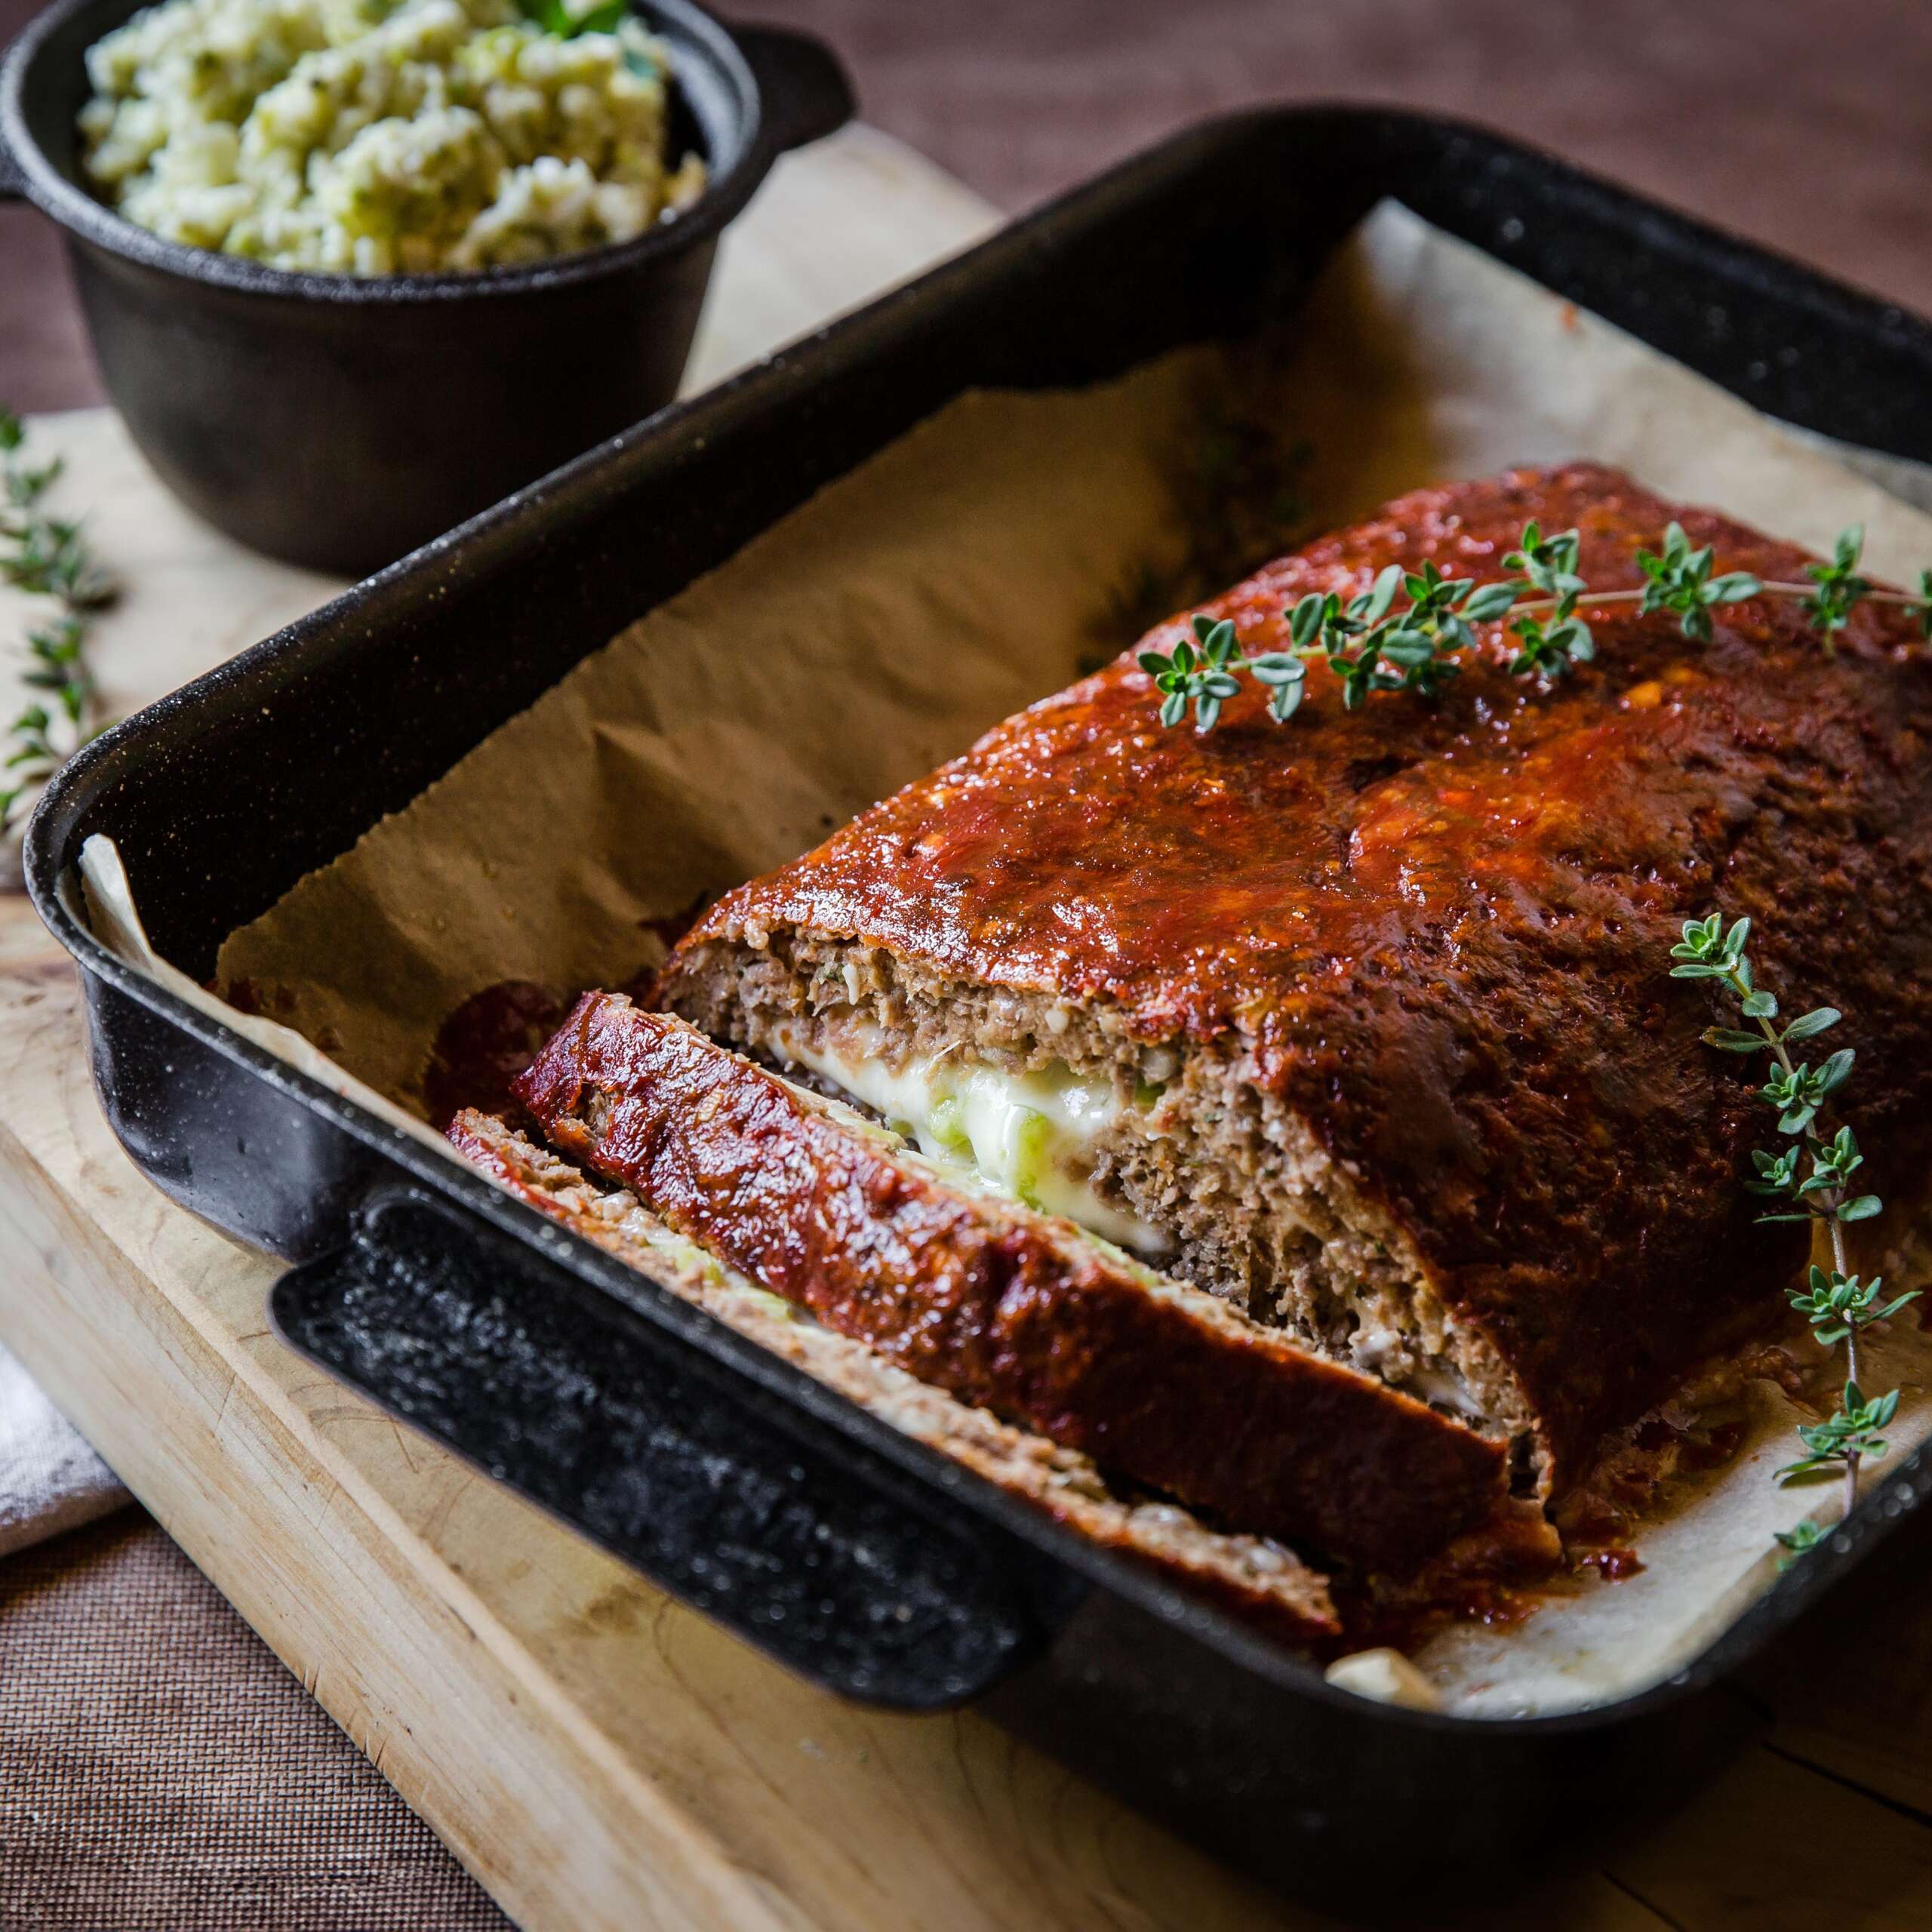
Who says comfort food can’t be keto-friendly? My Easy Cheese Stuffed Meatloaf is here to prove otherwise! This isn’t just any meatloaf; it’s a nostalgic trip down memory lane, revamped for a low-carb lifestyle. Imagine biting into a tender, juicy meatloaf that reveals a gooey, cheesy surprise with every slice. That’s what this recipe promises — a delightful blend of minced beef, a trio of cheeses, and the fresh zing of green pepper.
Growing up, meatloaf dinners were a family favorite, and this recipe holds a special place in my heart. It’s inspired by my Dad’s classic dish, tweaked to fit a gluten-free and keto-friendly diet without sacrificing any of the soul-warming flavors. The best part? It’s incredibly easy to make. Whether you’re serving it up with a side of cauliflower rice or enjoying it as is, this cheese-stuffed meatloaf is set to become a star on your dinner table. Let’s make this comforting meatloaf with a cheesy twist!
Why You’ll Love This Recipe
- Keto-Friendly: Fits perfectly into a low-carb diet.
- Cheesy Delight: Loaded with cheddar, Gouda, and Parmesan.
- Simple & Easy: Accessible and hassle-free to make.
- Versatile: Great with cauliflower rice or as a standalone dish.
- Rich & Hearty: Satisfying with every flavorful bite.
Ingredients & Substitutions
Heads up: For exact measurements, see the recipe card below.
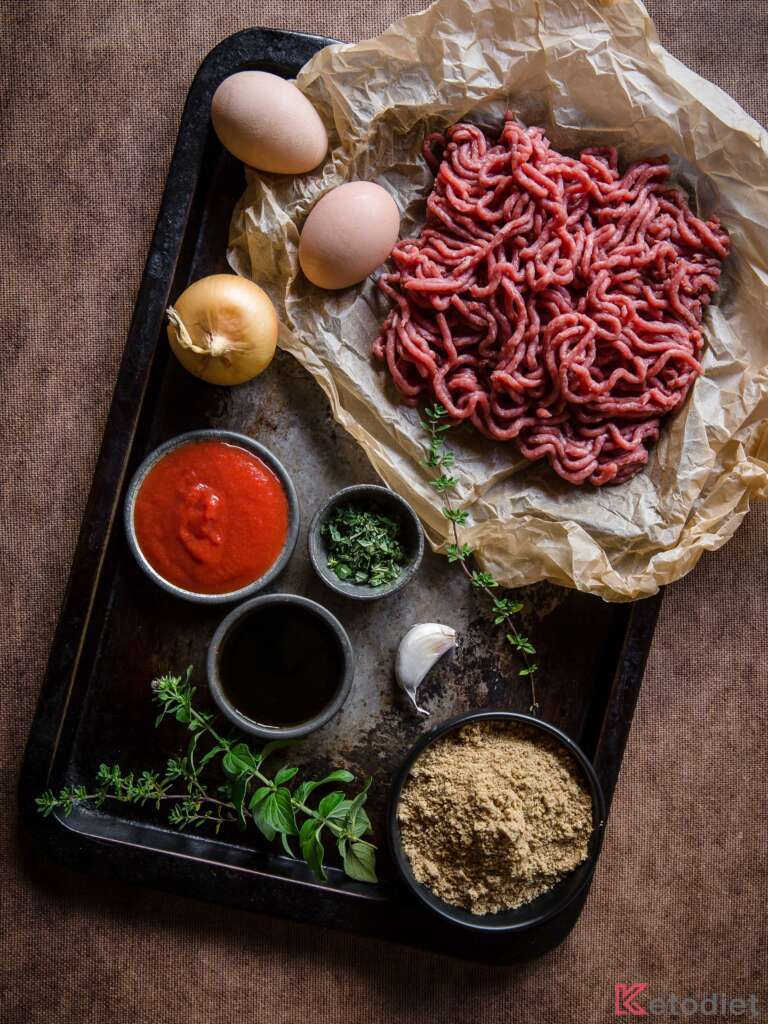
Whipping up this low-carb cheese-stuffed meatloaf is simple; you only need a handful of ingredients:
- Minced Beef: The main component of the meatloaf.
- Onion: Finely chopped brown (yellow) onion for texture and flavor.
- Garlic: Minced garlic for a touch of aromatic warmth.
- Eggs: Bind the ingredients together.
- Flaxmeal: A low-carb substitute for breadcrumbs.
- Coconut Aminos: Adds depth to the meatloaf’s flavor.
- Tomato Passata: Also known as tomato sauce, it gives a mild tomatoey background.
- Herbs: Dried or fresh, they enhance the overall taste.
- Green Capsicum: Adds a fresh, crunchy texture.
- Cheddar Cheese: For a sharp, tangy flavor.
- Gouda Cheese: Brings a creamy, rich taste.
- Parmesan Cheese: Adds a salty, umami kick.
You can use mozzarella for its creamy texture, provolone for a milder taste, Emmental for a distinct nutty flavor, or even Swiss cheese such as Gruyere.
Unsalted, ground pork rinds are an excellent replacement for flax meal. They help bind the ingredients while keeping the taste neutral.
Tamari sauce can be used instead. It brings a similar umami flavor to the dish, though it’s a bit saltier than coconut aminos.
Yes, red, orange, or yellow bell peppers are good options. They’re sweeter than green bell peppers and add a vibrant color to your meatloaf.
How To Make Cheese Stuffed Meatloaf Without Flour
Preheat & Prep. Start by heating your oven to 355°F (180°C) fan assisted, or 400°F (200°C) conventional. Grab a baking tray, line it with silicone paper, and set it aside.
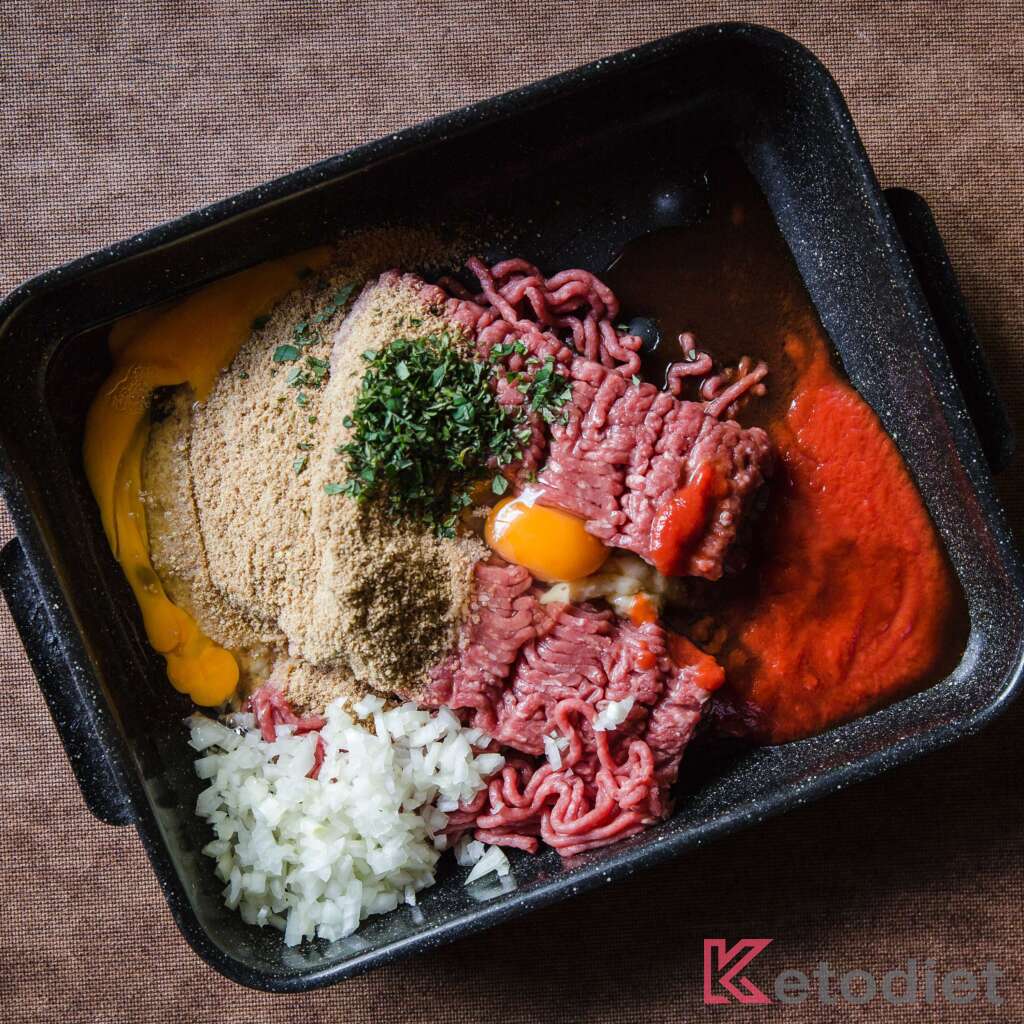
Mix Ingredients. In a large bowl, combine the ground beef, chopped onion, garlic, eggs, flaxmeal, coconut aminos, passata, and your chosen herbs. Give it a good mix with your hands to ensure everything is well-blended.
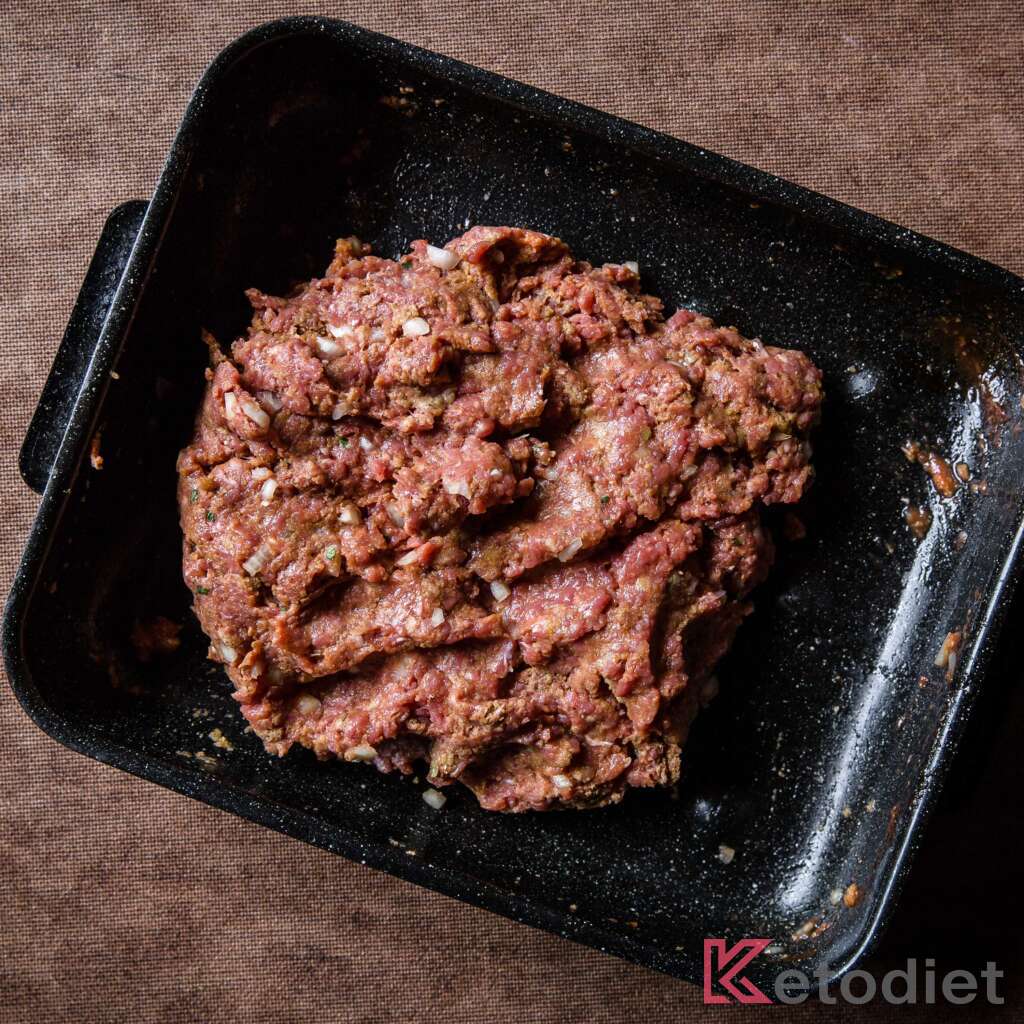
Shape the Meatloaf. Lay out another piece of silicone paper on your counter. Tip the beef mixture onto it and, using your hands, shape it into a rectangle. Make sure it’s not wider than your baking tray and not too thin.
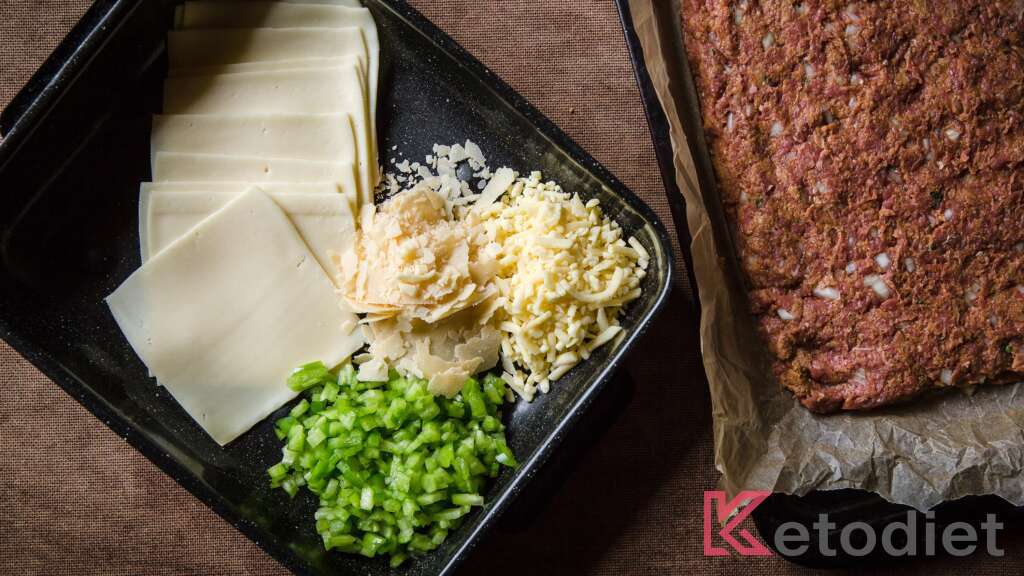
Add the Cheeses & Pepper. Layer slices of Gouda cheese over the beef. Then, sprinkle the chopped green capsicum on top, followed by a sprinkle of both Parmesan and cheddar cheese.
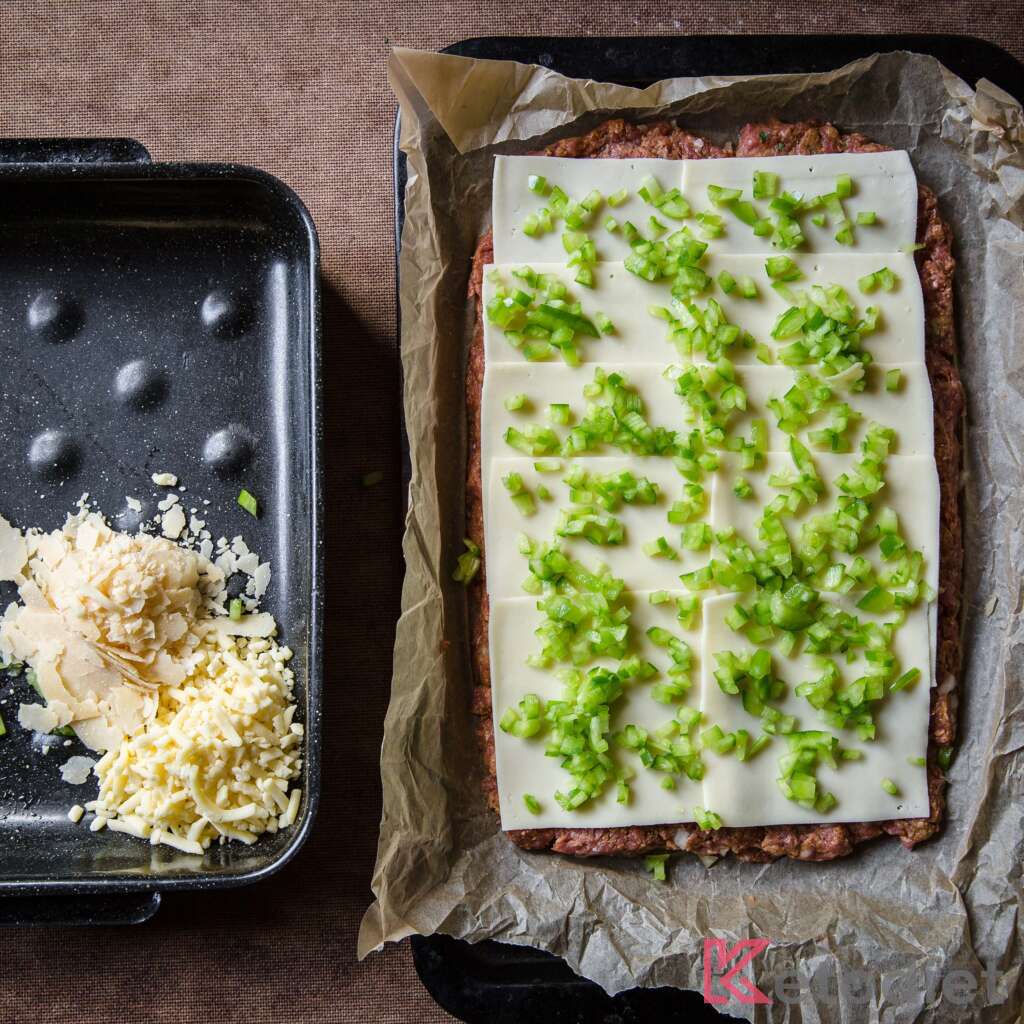
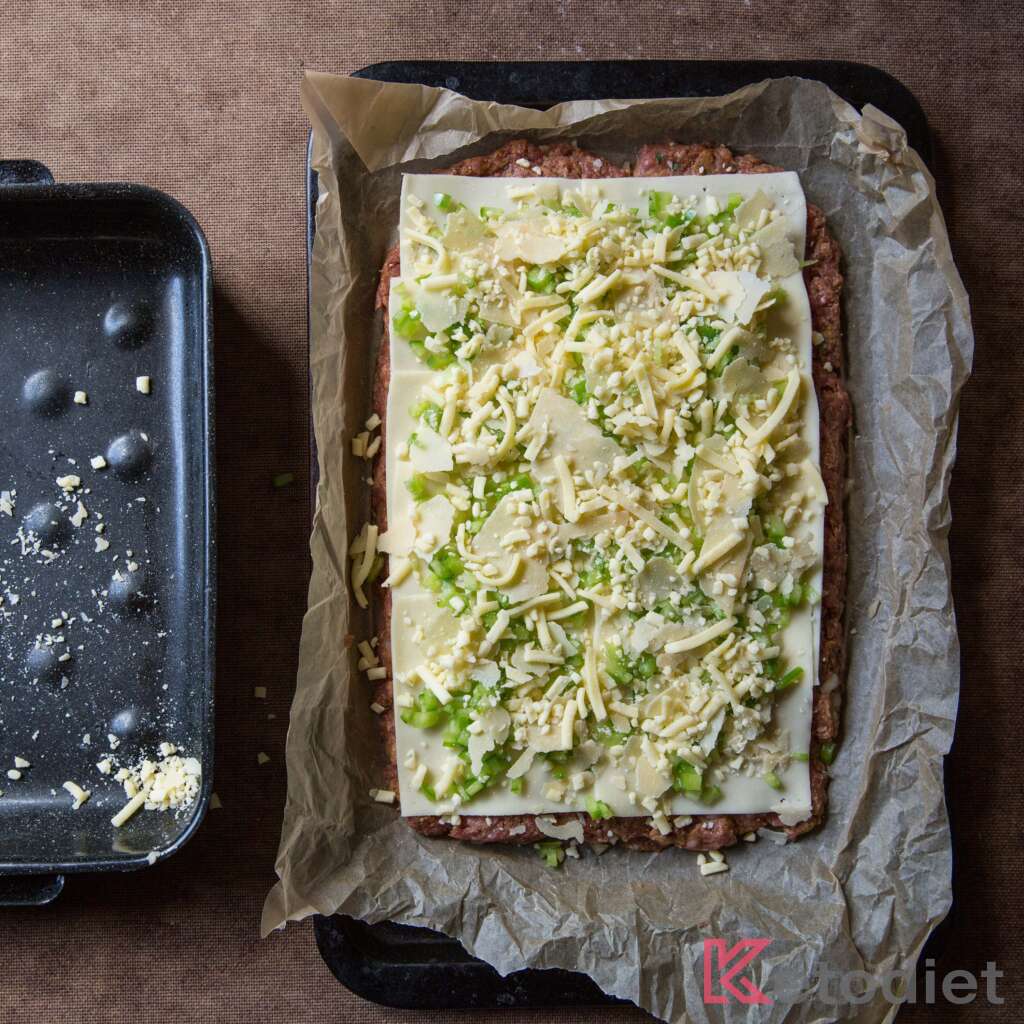
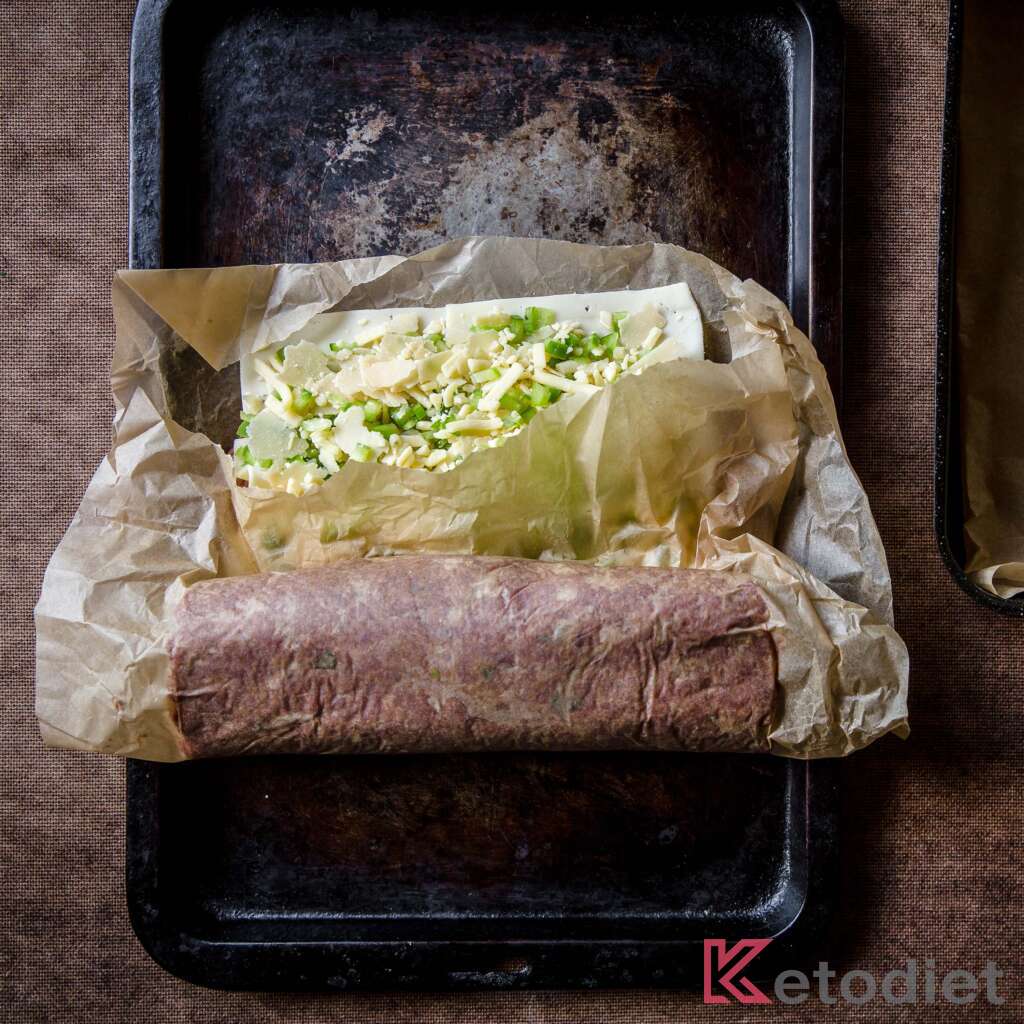
Roll It Up. Starting at one short end of the rectangle, use the paper to help roll the meatloaf tightly. Be careful to peel back the paper as you go. Pinch the ends of the meatloaf to keep the cheese from oozing out.
Bake. Place the meatloaf seam side down on the prepared baking tray. Cover it with foil and bake in the preheated oven for 15 minutes. After that, remove the foil and continue baking for another 15 minutes.
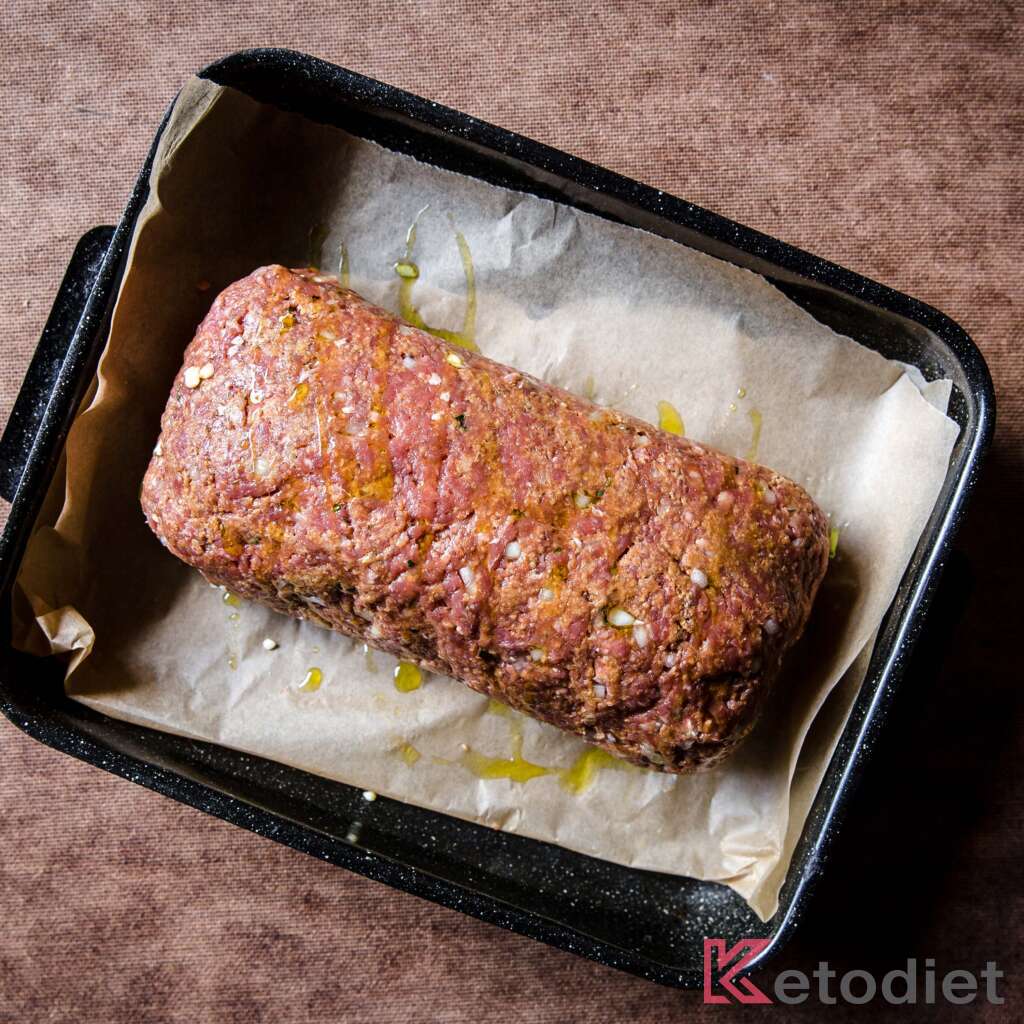
Baste & Finish Baking. While the meatloaf bakes, mix together the baste ingredients. After the initial 30 minutes of baking, baste the meatloaf and return it to the oven. Bake for another 30-45 minutes, basting occasionally, until the meatloaf is cooked through and has a nice glaze.
Serve. Once done, let the meatloaf rest a bit before slicing. Serve warm with your favorite side – cauliflower rice is a great match! Any leftovers? They’ll keep well in the fridge for up to 4 days or you can freeze them for later.
Tips for Best Low-Carb Cheese Stuffed Meatloaf
- Don’t Rush the Mix: Take your time mixing the beef and other ingredients. A thorough mix means every slice is flavorful and well-combined.
- Right Meatloaf Thickness: Aim for a consistent thickness when shaping your meatloaf. Too thin, and it might break; too thick, and it won’t cook evenly.
- Cheese Placement: When adding cheese, leave a small border around the edges of the meatloaf. This helps prevent cheese from leaking out during baking.
- Rolling Technique: Roll the meatloaf tightly to keep the filling secure. Use the silicone mat or parchment paper to guide you, but don’t let it roll into the meatloaf.
- Basting is Key: Regular basting with the tomato and coconut aminos mix adds flavor and keeps the meatloaf moist. Don’t skip this step!
- Let It Rest: After baking, let the meatloaf rest for a few minutes before slicing. This helps the juices redistribute, making each slice moist and delicious.
Storage Instructions
Your cheese-stuffed meatloaf will stay good in the fridge for up to 4 days. Just make sure to wrap it up well or store it in an airtight container to keep it fresh.
Yes, it freezes beautifully! Once the meatloaf is completely cooled, wrap it tightly in foil or plastic wrap and then place it in a freezer-safe bag or container. It can be frozen for up to 3 months. Just thaw it in the fridge overnight when you’re ready to enjoy it again.
For reheating, you can use the oven or microwave. If using the oven, wrap the meatloaf in foil and heat it at 355°F (180°C) until it’s warmed through, which usually takes about 20 minutes. If you prefer the microwave, place a slice on a microwave-safe plate and heat it for 1-2 minutes or until hot. Just be careful not to overheat it, as that can dry it out.
How to Serve Low-Carb Cheese Stuffed Meatloaf
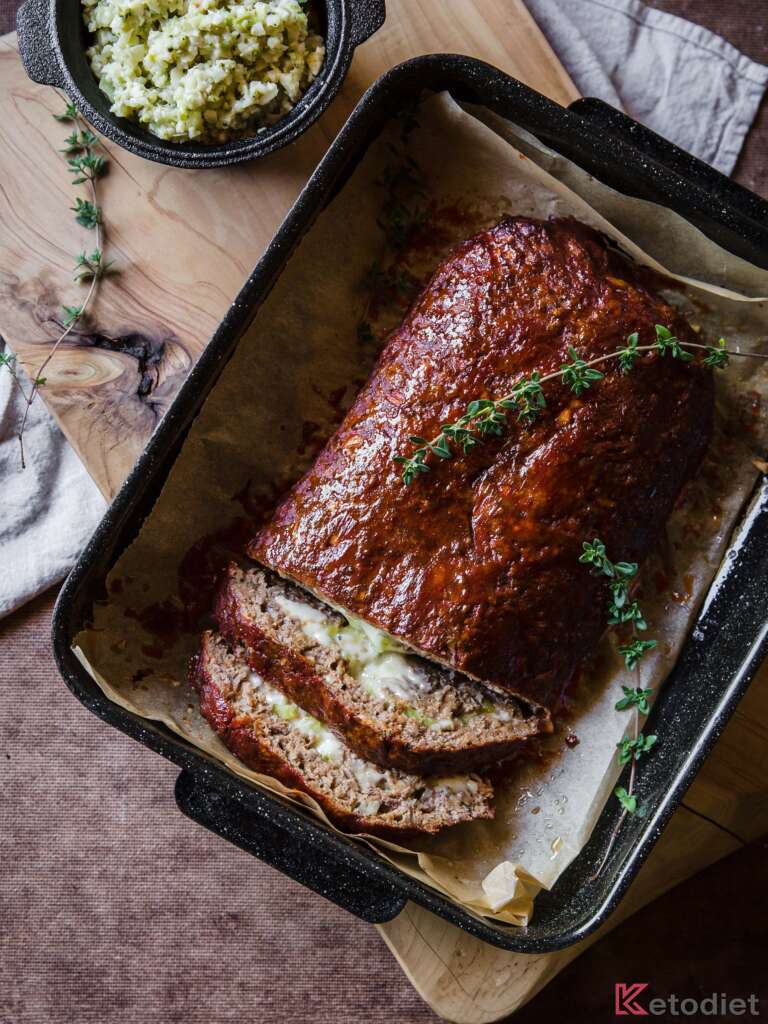
This hearty meatloaf is incredibly versatile and pairs wonderfully with a variety of sides. Here are a couple of my favorite ways to serve it:
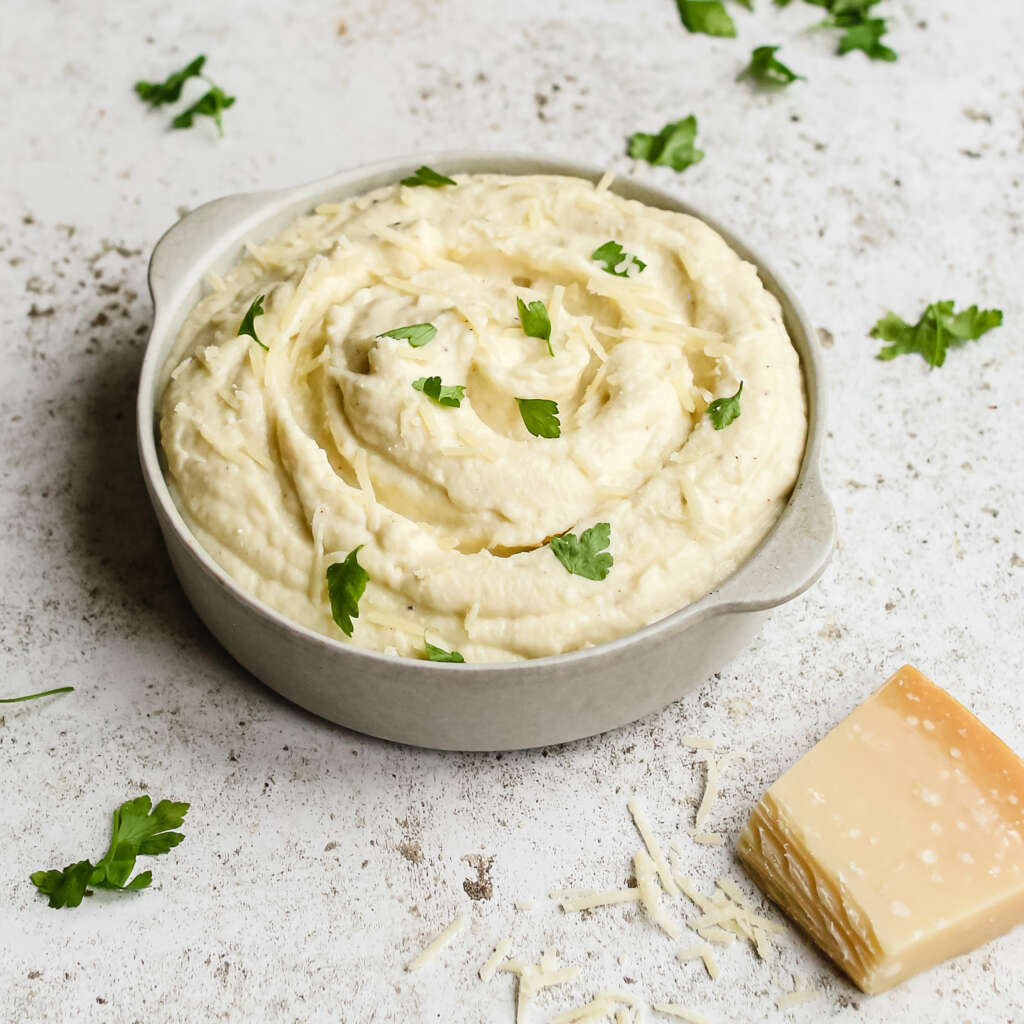
- With Cauliflower Mash: For a low-carb, keto-friendly twist on the classic meatloaf and mashed potatoes, serve this dish with a creamy cauliflower mash. It’s light, fluffy, and a perfect complement to the richness of the meatloaf.
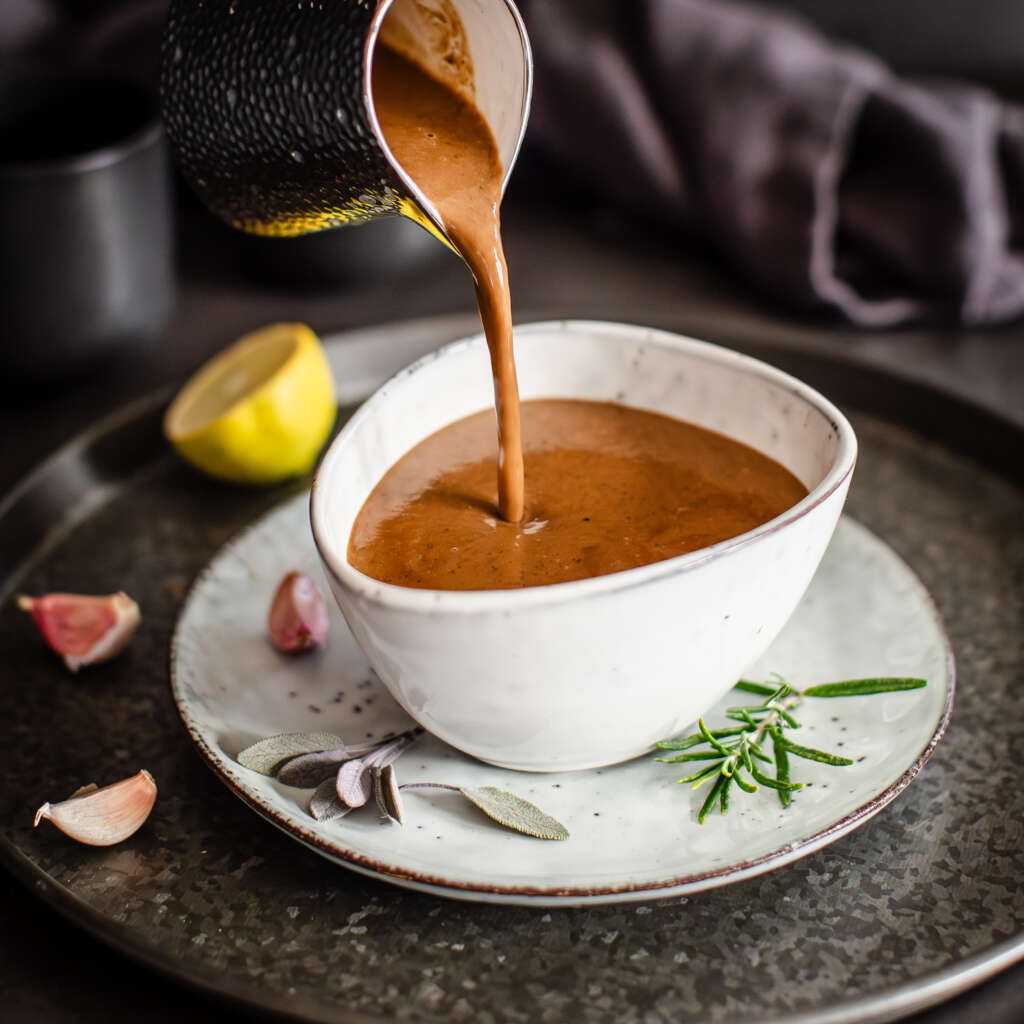
- Add Low-Carb Gravy: Drizzle or serve a generous spoonful of low-carb gravy on top of your meatloaf slices. It adds an extra layer of savory goodness that really brings the meal together.
- Simple Veggie Sides: If you’re looking for something lighter, a side of steamed or roasted vegetables, like green beans or broccoli, works great. They add a fresh crunch and a pop of color to your plate.
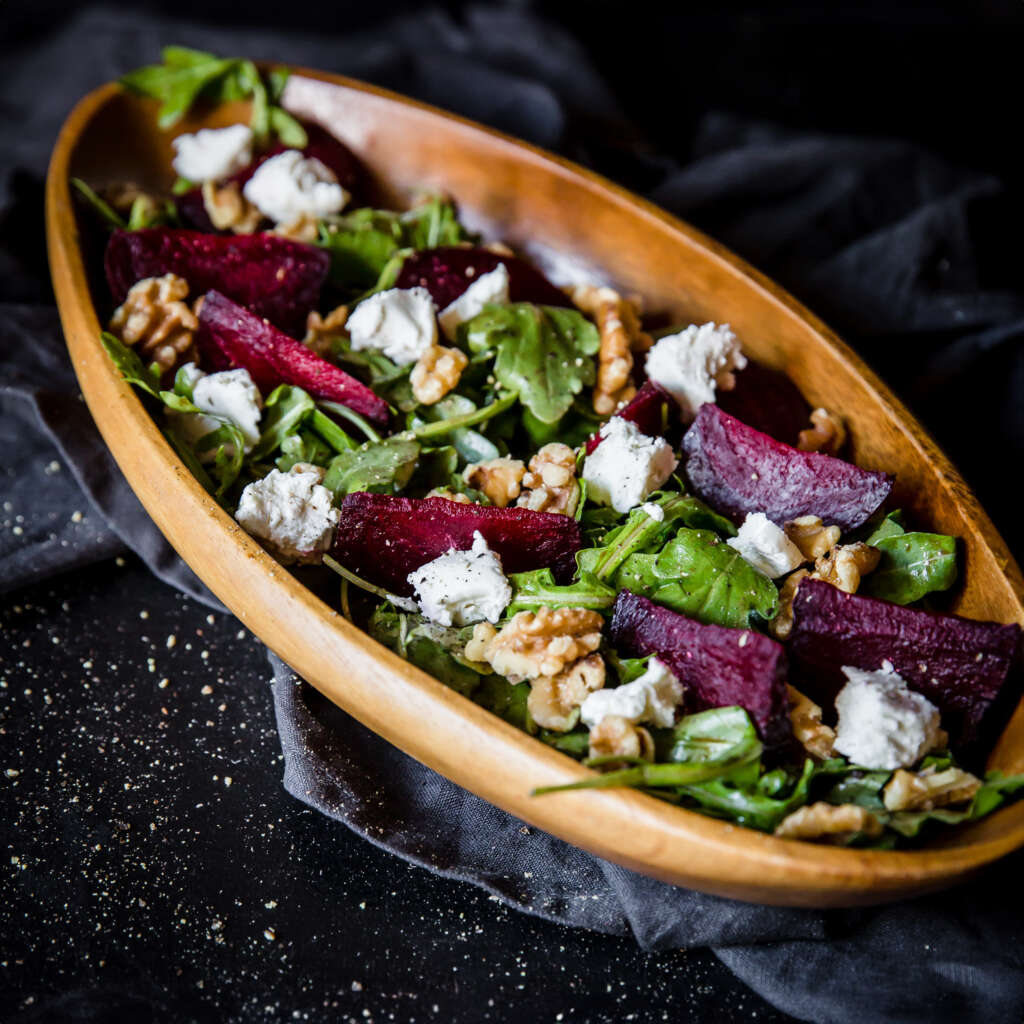
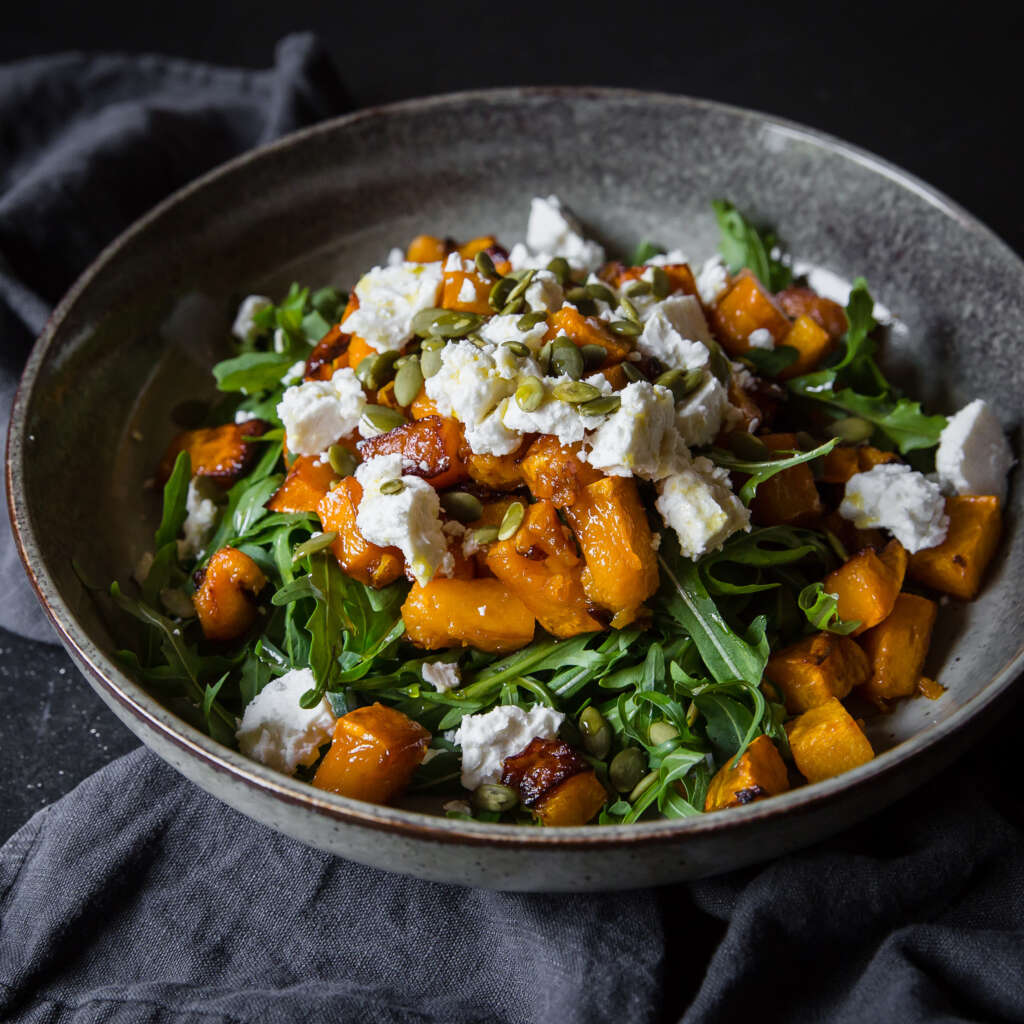
- Salads: This low-carb meatloaf will go well with any fall-inspired salads such as our Roasted Pumpkin Salad with Feta, or our Roasted Beetroot Salad with Goat’s Cheese.
- On its Own: This meatloaf is also fantastic on its own, especially if you’re keeping things simple or focusing on portion control. A slice of this cheesy, savory meatloaf is satisfying all by itself!
Tools for Low-Carb Cheese Stuffed Meatloaf
- Parchment Paper: Essential for shaping the meatloaf and helps with the rolling process, ensuring nothing sticks and everything stays in place.
- Roasting Tin: A sturdy roasting tin is perfect for baking the meatloaf, providing even heat distribution and making it easy to handle in and out of the oven.
Low-Carb Cheese Stuffed Meatloaf
Ingredients
Meatloaf
- 1.1 lb minced beef
- 1 small yellow onion (finely chopped)
- 2 tsp minced garlic
- 2 large eggs
- ⅓ cup flax meal
- 2 tbsp coconut aminos
- 4 tbsp tomato passata (unsweetened)
- 1 tbsp dried herbs of choice (Italian herbs work best, or 2 tbsp freshly chopped herbs)
- 1 small green bell pepper (finely chopped)
- ½ cup shredded cheddar cheese
- 7 oz sliced Gouda cheese
- ½ cup flaked or grated Parmesan cheese
Baste
- 2 tbsp coconut aminos
- 4 tbsp tomato passata (unsweetened)
Instructions
- Set your oven to 355 °F (180 °C), or 400 °F (200 °C).
- In a large bowl, combine minced beef, finely chopped onion, minced garlic, large eggs, flax meal, coconut aminos, unsweetened tomato passata, and dried herbs.
- Spread the mixture on parchment paper into a rectangular shape. Ensure it’s not too thin and fits your roasting tin.
- Layer with sliced Gouda cheese, followed by chopped green pepper, shredded cheddar, and flaked Parmesan.
- Carefully roll the meatloaf using the parchment paper, sealing the ends to keep the cheese inside.
- Place the roll seam side down on a roasting tin. Cover with foil and bake for 15 minutes, then remove the foil and bake for another 15 minutes.
- Mix the remaining coconut aminos and tomato passata for basting. Apply to the meatloaf and bake for another 30-45 minutes, basting occasionally.
- Let the meatloaf rest for a few minutes after baking, then slice and serve, ideally with a side of cauliflower mash or your preferred low-carb side.
Nutrition
Notes
- Storage: Keep leftovers in the fridge for up to 4 days or freeze for up to 3 months. Wrap tightly to maintain freshness.
- Cheese Options: Experiment with different cheeses like mozzarella, provolone, or Emmental for varied flavors.
- Substitutes: Use ground pork rinds instead of flax meal or tamari sauce in place of coconut aminos if needed.
- Pepper Varieties: Switch up the green capsicum with red, orange, or yellow peppers for a sweeter taste and colorful presentation.
- Reheating: Reheat in the oven or microwave. In the oven, wrap in foil and heat at 180 C/355 F. In the microwave, heat slices for 1-2 minutes.
Gave this a try and WOW, it’s my new fave! Is there another cheese you’d suggest subbing in for Gouda next time?
Thank you! I think you could try mozzarella or even Emmental!
Was really looking forward to trying this, and it totally lived up to the hype! Loving the cheesy surprise in every bite, plus it’s so easy to make!
Thank you!🥰