
Table of Contents
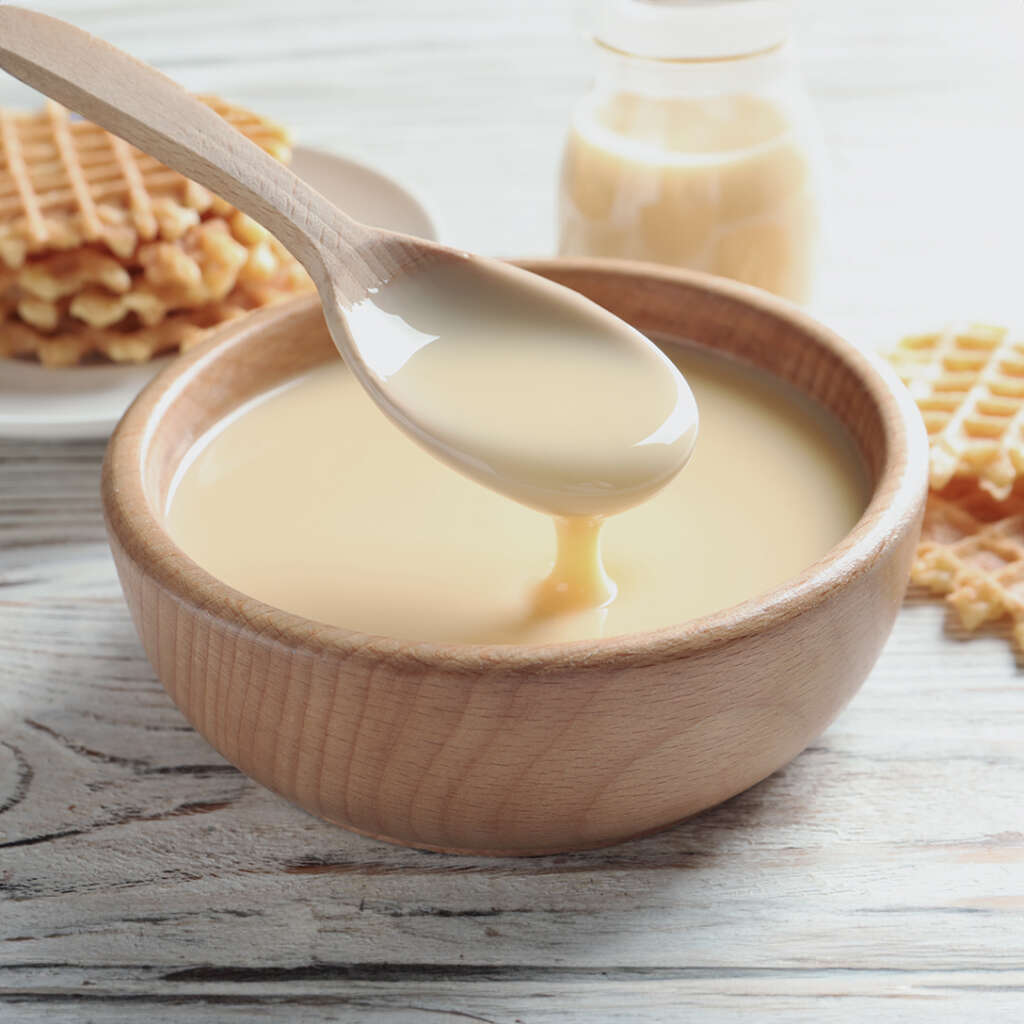
Looking for a simple, yet satisfying, dairy-free and sugar-free option for condensed milk? This recipe is a game-changer. Similarly to our Sugar-Free Sweet Keto Condensed Milk, you’ll only need a few ingredients, primarily coconut milk and a low-carb sweetener, you can prepare a rich and creamy condensed milk alternative that’s perfect for a range of keto desserts and beverages.
Why You’ll Love This Recipe
- Low-Carb: Ideal for those following a keto or low-carb diet.
- Dairy-Free: Great for lactose-intolerant or vegan lifestyles.
- Versatile: Use it in everything from morning coffee to decadent desserts.
Ingredients & Substitutions
Heads up: For exact measurements, see the recipe card below.
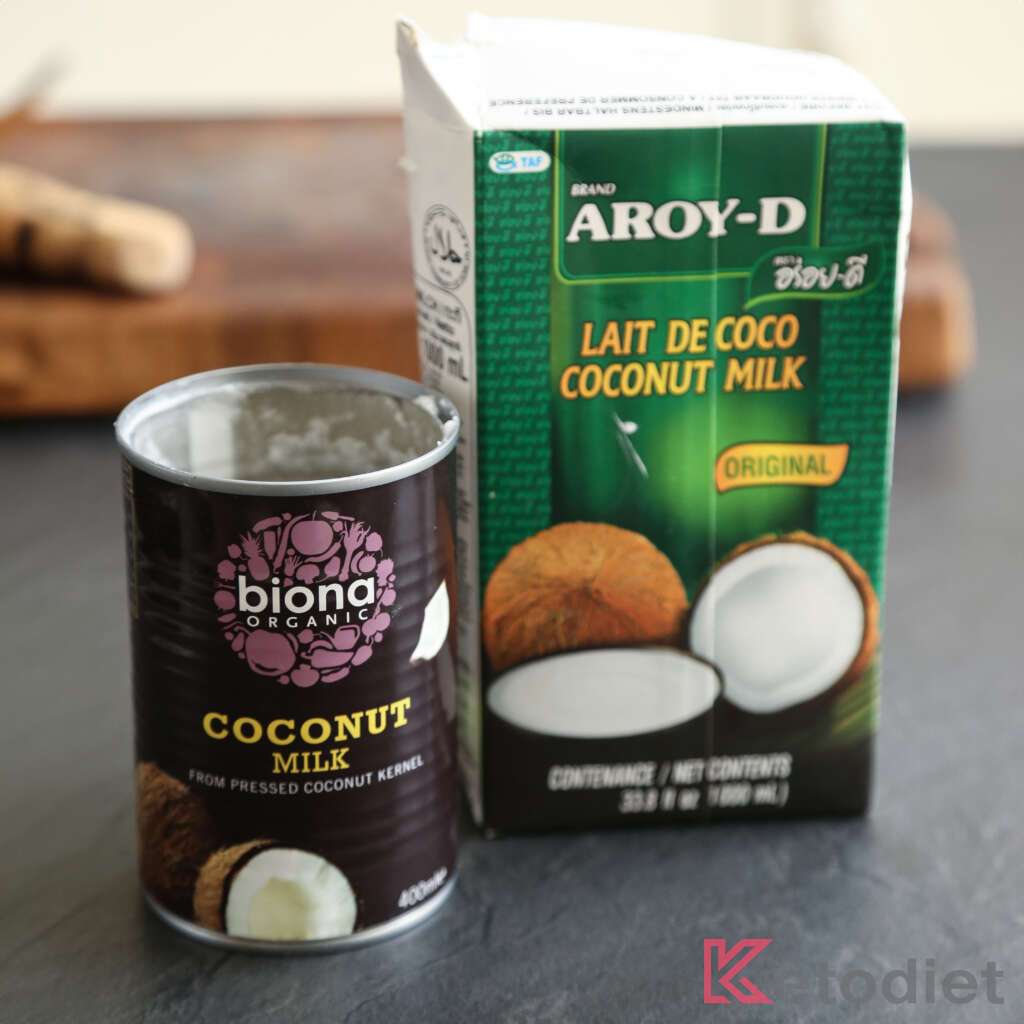
- Coconut Milk: The base for this dairy-free condensed milk. Both canned or carton coconut milk options will work, although canned coconut milk will result in a thicker texture.
- Low-Carb Sweetener: Allulose is our top choice for smooth texture. Brown sugar substitutes work well, too.
- Flavor Options: Add vanilla, cinnamon, or your favorite spices to customize the flavor.
Yes, you can and we’ve tried both options! For a regular dairy-based keto condensed milk, follow this recipe for Keto Condensed Milk.
Yes, any low-carb granulated or powdered low-carb sweetener should work, but it may alter the final texture.
How To Make Dairy-Free and Sugar-Free Sweet Condensed Milk
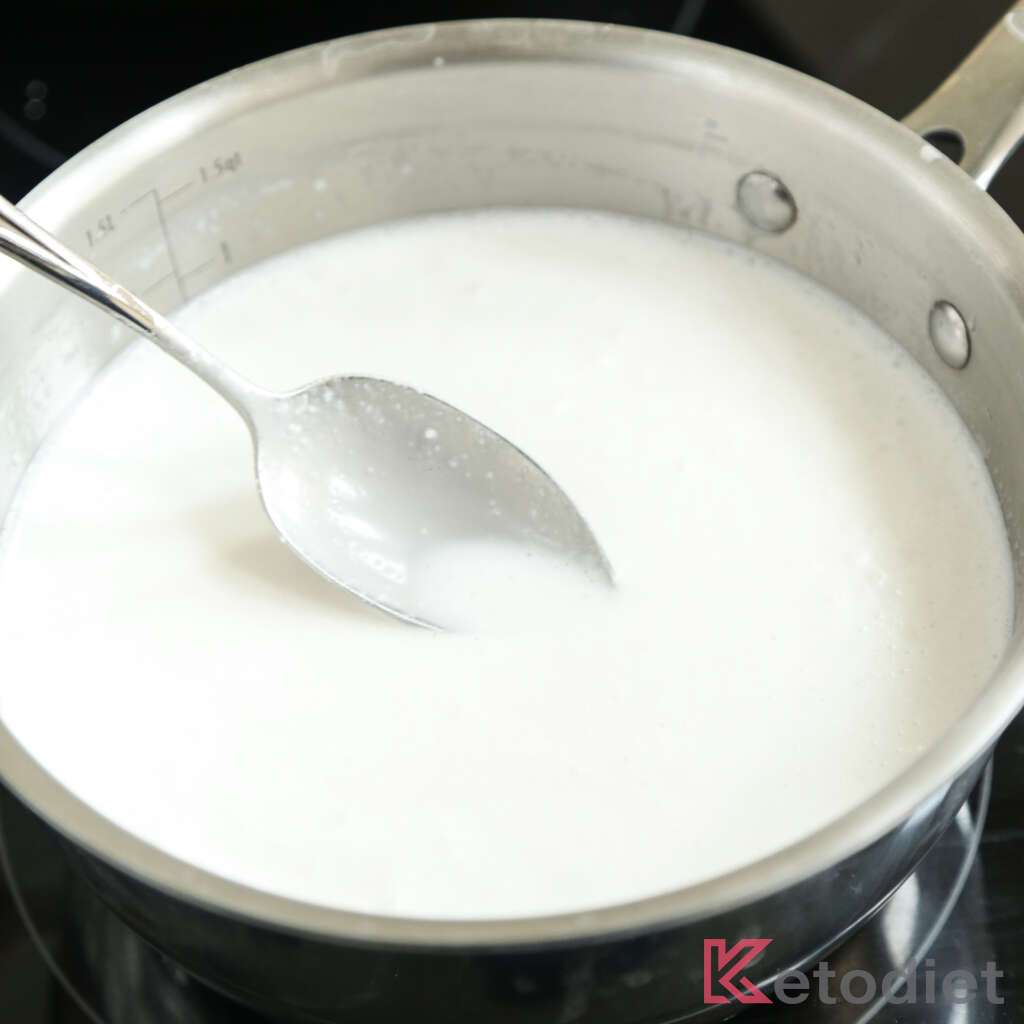
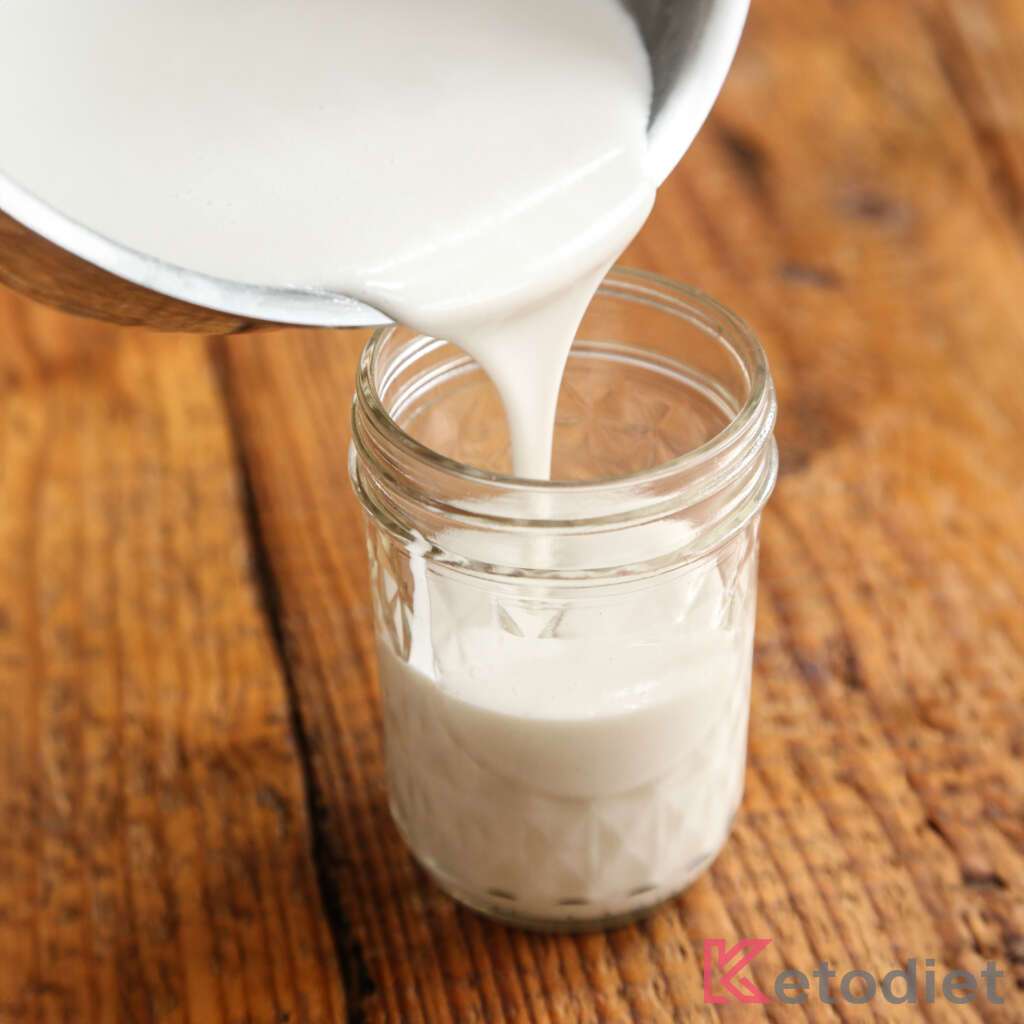
Boil Coconut Milk. Pour coconut milk into a saucepan. Bring to a boil.
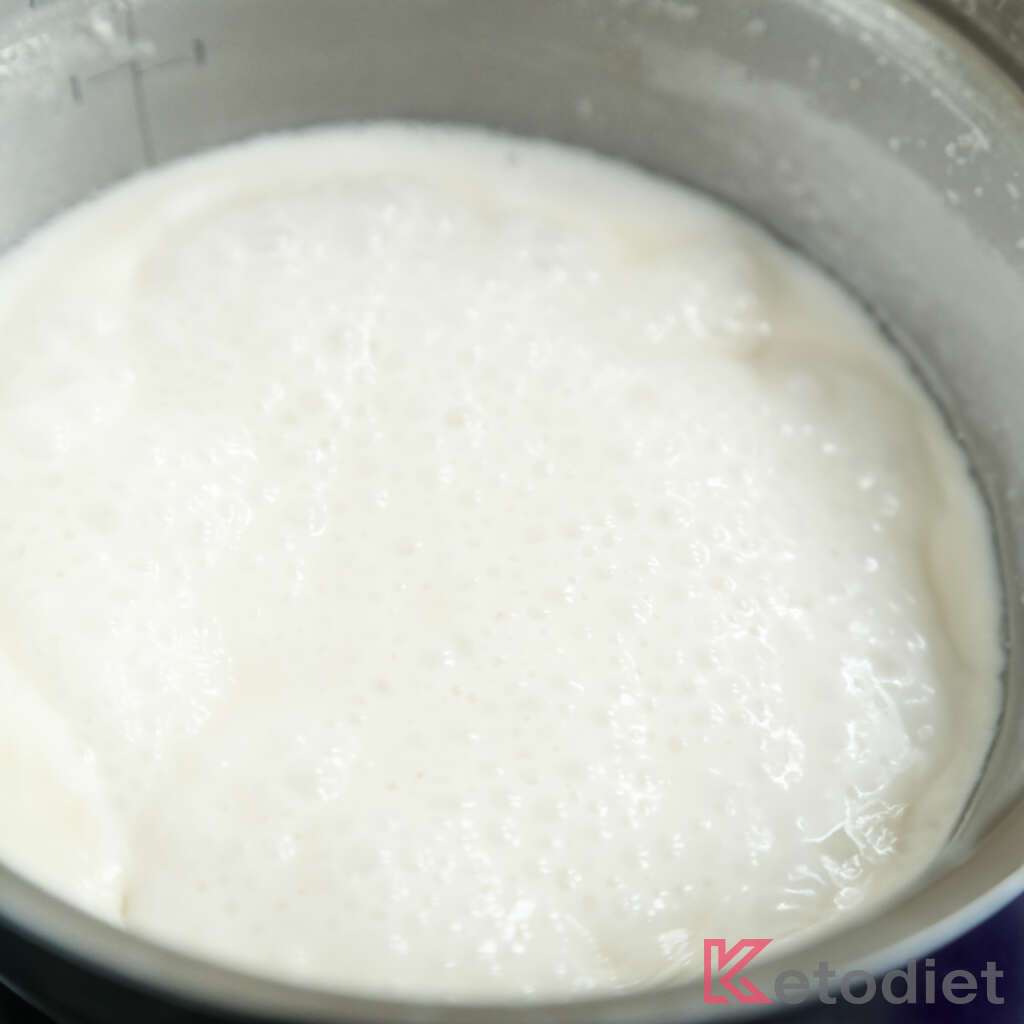
Simmer. Reduce the heat and allow the mixture to simmer until it’s reduced by half, which will take approximately 40-50 minutes.
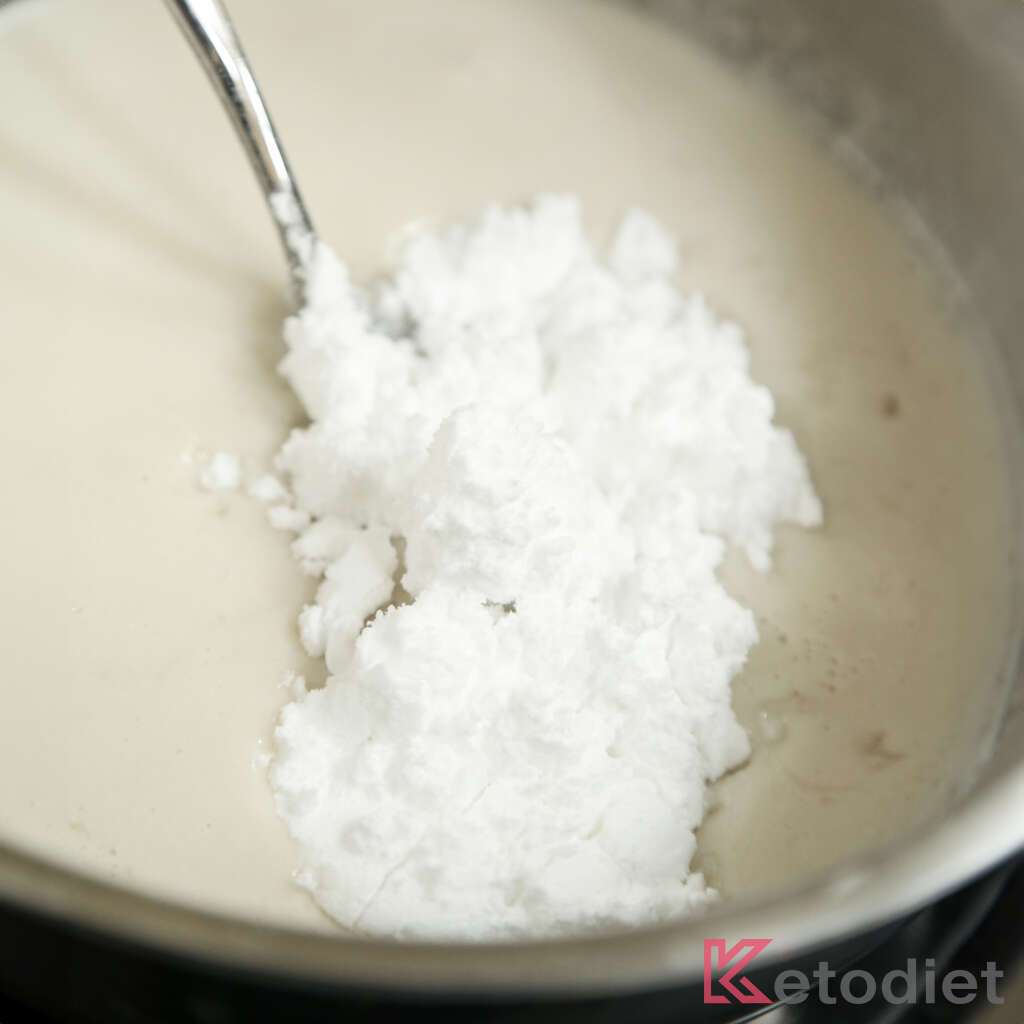
Sweeten Up. Add low-carb sweetener of choice.
Cool Down. Remove from heat and let it cool.
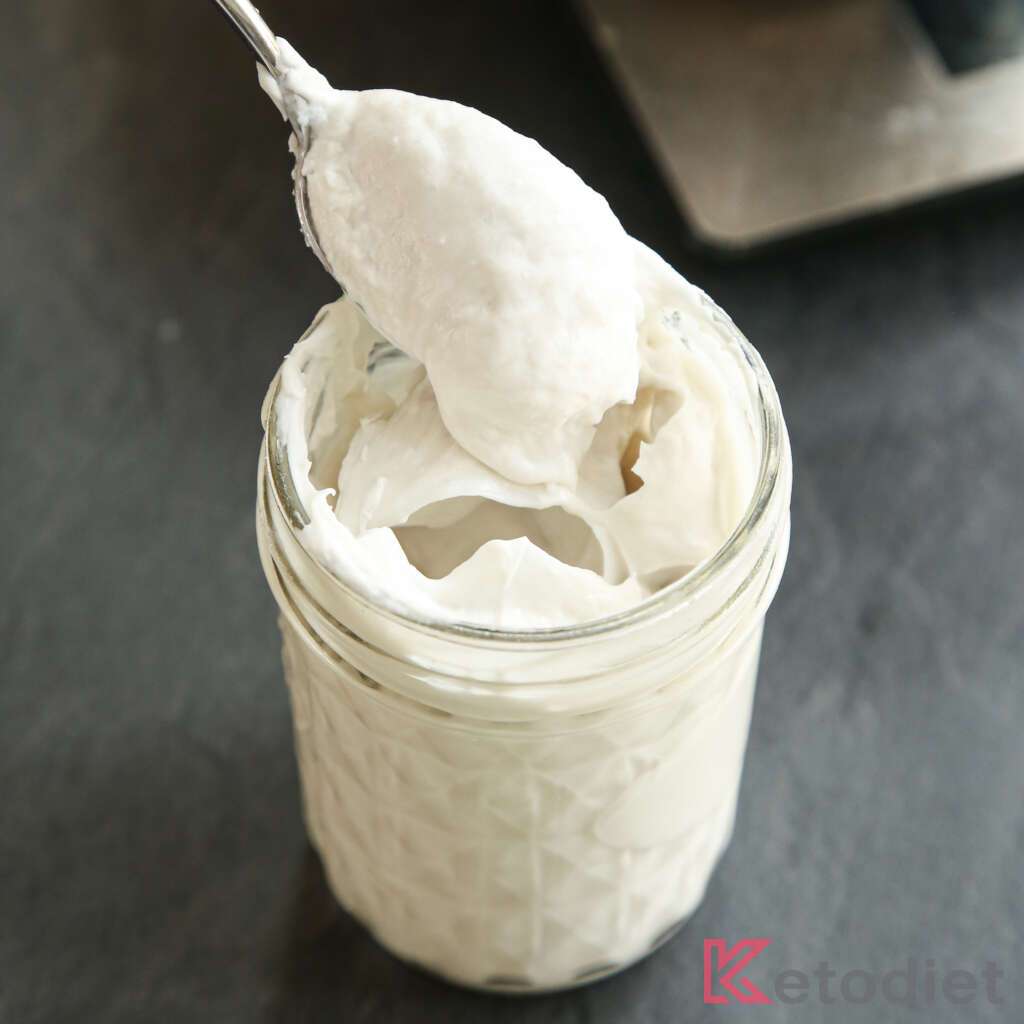
Blend. Use an immersion blender for a smooth, creamy texture. This step is optional and will depend on the texture.
Add Flavors and Store. Optionally, stir in your preferred spices or flavorings. Transfer to a jar for storage.
Tips for the Perfect Dairy-Free and Sugar-Free Condensed Milk
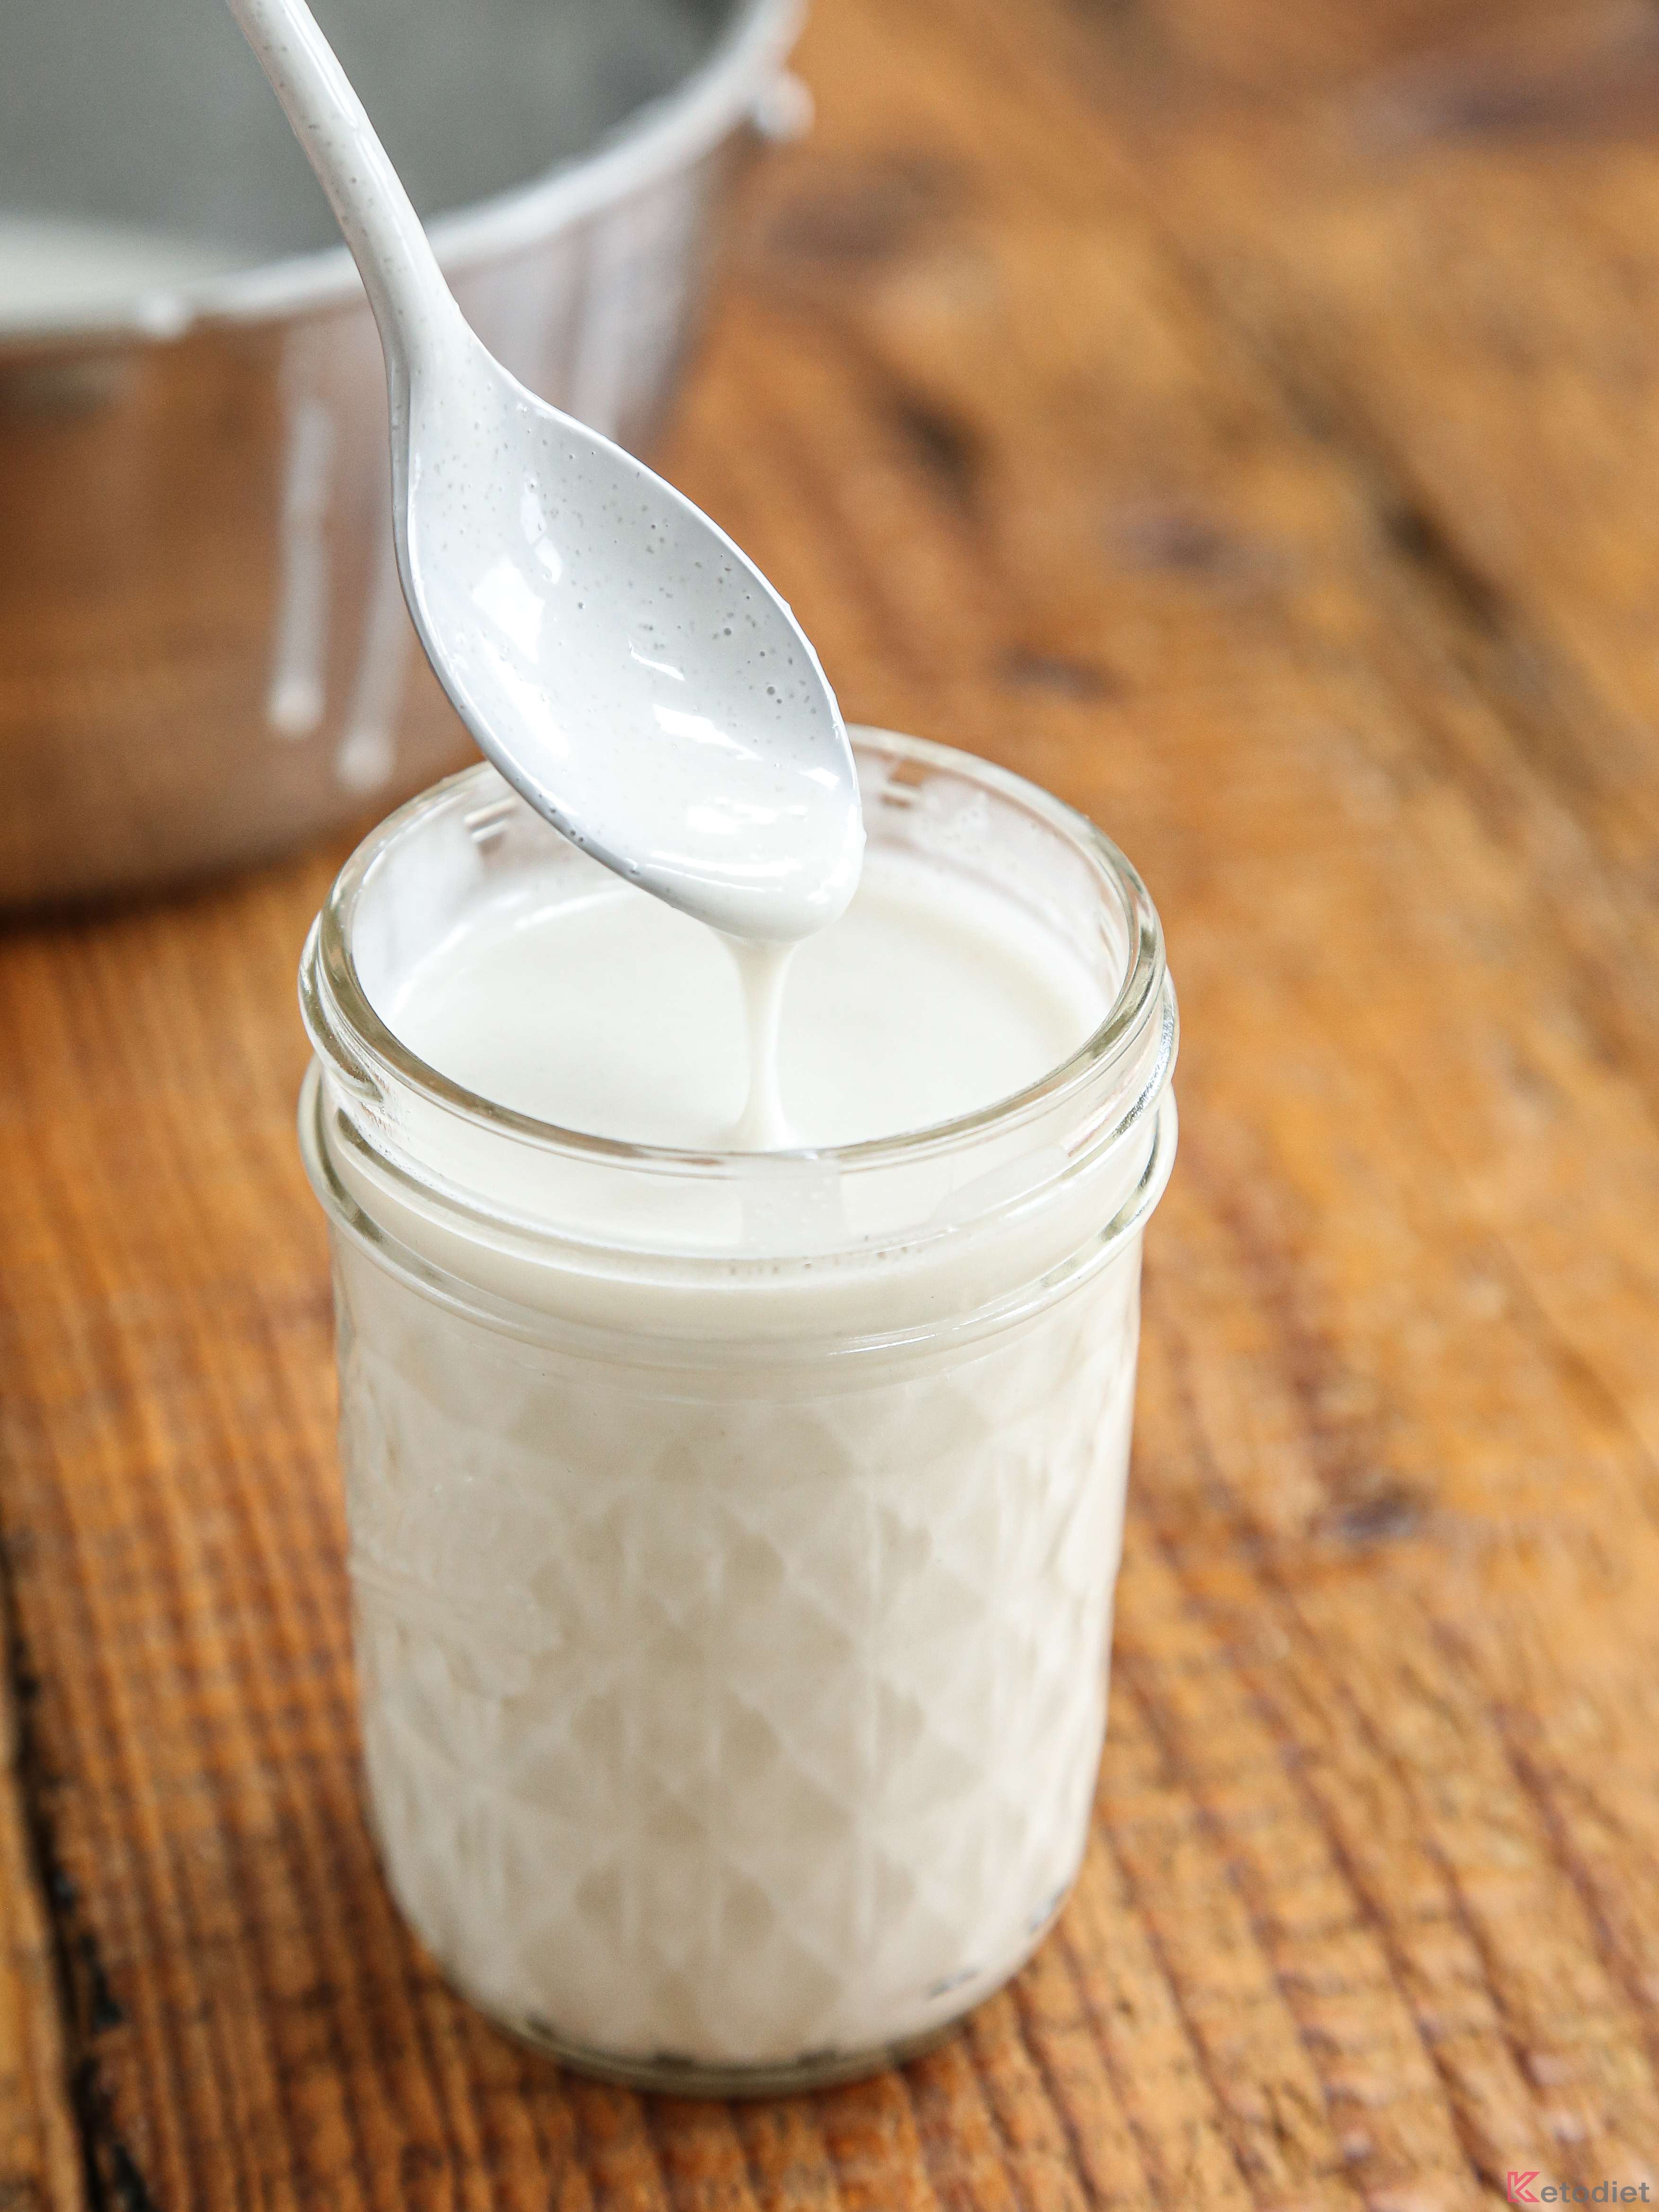
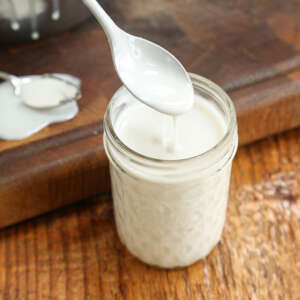
- This DIY condensed milk will be runny at first but may thicken as it chills especially once you place it in the fridge. To make it runny, simply heat it up. Store for one week in the fridge in a sealed jar.
- Find the right temperature. When boiling your coconut milk, find the temperature that allows it to simmer without overflowing. Start at medium high and once boiling, reduce to low.
- Sweetener can either be added and cooked together with the coconut milk, or it can be added after the milk is reduced. We tried both and it didn’t make a difference. You may want to add the sweetener after the cooking only because the mixture will be sweeter as it gets reduced. You can then use sweetener to taste.
- If you want to make a nut-free condensed milk with coconut milk, use seed milk such as poppy seed milk instead of almond milk, or try tiger nut milk (tiger nuts are a vegetable, a type of tuber).
Storage Instructions
Stored properly in a sealed jar in the fridge, it will last for about one week. For longer storage, pour in an ice tray and freeze until solid. Pop out of the ice tray, transfer into a bag and freeze for up to 6 months.
How to Use Condensed Milk
This isn’t just a substitute; it’s a versatile, low-carb ingredient that you can incorporate into a myriad of dishes. From rich desserts like Dulce De Leche Squares from the Fat Bombs Book to enhancing your morning coffee, our homemade dairy-free & sugar-free condensed milk is the perfect addition to your keto-friendly pantry staples:
- Coffee Creamer: Use to make Coffee Creamer and swirl it into your coffee or tea for a rich and creamy sweetener.
- Dessert Topping: Drizzle over fruit salads, ice cream, or use as a dip for keto cookies.
- Baked Goods: Incorporate into cakes, brownies, or cookies for added moisture and sweetness.
- Sweet Spreads: Mix into homemade spreads like nut butter or chocolate hazelnut spread.
- Fudge and Candy: Use as a base for creamy fudge or homemade candies.
- Breakfast Sweetener: Add to oatmeal, yogurt, or pancake batter for a touch of sweetness.
- Pie Fillings: Perfect for pumpkin, lemon, or key lime pies, adding sweetness and a creamy texture.
- Frozen Treats: Blend into homemade ice creams or popsicles for a smooth, rich flavor.
- Fruit Dips: Use it as a sweet dip for apple slices or other fresh fruit.
Tools for This Condensed Milk Recipe
- Immersion Blender: Essential for combining your ingredients quickly and getting that perfect pesto texture.
Dairy-Free Sweet Condensed Milk
Ingredients
- 2 cans coconut milk (13.5 fl oz each)
- ½ cup powdered low-carb sweetener (such as Allulose or brown sugar substitute)
- 1 tsp vanilla extract, vanilla bean powder or cinnamon (optional)
Instructions
- Pour the coconut milk in a saucepan. Bring to a boil over a medium-high heat.
- Once it starts simmering, turn the heat down to low. Reduce the coconut milk to about half of the volume. This will take 40-50 minutes.
- Once reduced, take off the heat and add low-carb sweetener of choice. Reducing the coconut milk by itself will make it sweeter and you can add as much sweetener as you like.
- Let it cool to room temperature. There may be some skin and clumps so it’s best to smooth the texture by blitzing with an immersion blender. Optionally, you can add some vanilla or cinnamon.
- Pour in jars and let it cool down.
- Seal and refrigerate for up to a week. Alternatively, pour in an ice-cube tray and freeze for up to 3 months.
Recipe Video
Nutrition
Notes
- Serving size: 1 tablespoon (15 ml).
- Yield: This recipe will yield 1 ¾ to 2 cups (360 to 480 ml). The exact volume will depend on how much you reduce the liquid. The more you reduce it, the creamier it will become.
- Storage: Keep in the fridge in a sealed jar for up to one week. It will be runny at first but will thicken more in the fridge.
- Use in Recipes: Ideal for various keto-friendly drinks and desserts.
Martina, I made this condensed milk for my coffee, and it’s a total game-changer! 💛
Thank you so much, glad you enjoyed!